SVG to STL Converter
Logos and Icons, Ready to Print
SVG to STL conversion gives every shape in a flat vector file real thickness, so a logo, an icon or a line of lettering becomes a solid you can slice and print.
SVG → 3D
Your extruded model shows up here. Drag to orbit, scroll to zoom.
Drop an .svg, set the width in millimetres and the extrusion height, and the 3D preview rebuilds while you drag. Fills and strokes both count, so line icons without any fill work too. Holes follow the file’s evenodd or nonzero fill rule, and overlapping shapes are merged into one clean body. From there you can add a base plate, a keychain hole or a top bevel, cut the design through a plate as a stencil, or give each SVG colour its own height for a layered multi-colour print. When it looks right, download a binary STL or an OBJ. The whole SVG to 3D model job runs in your browser: nothing is uploaded and no account is needed.
Start with a sample SVG
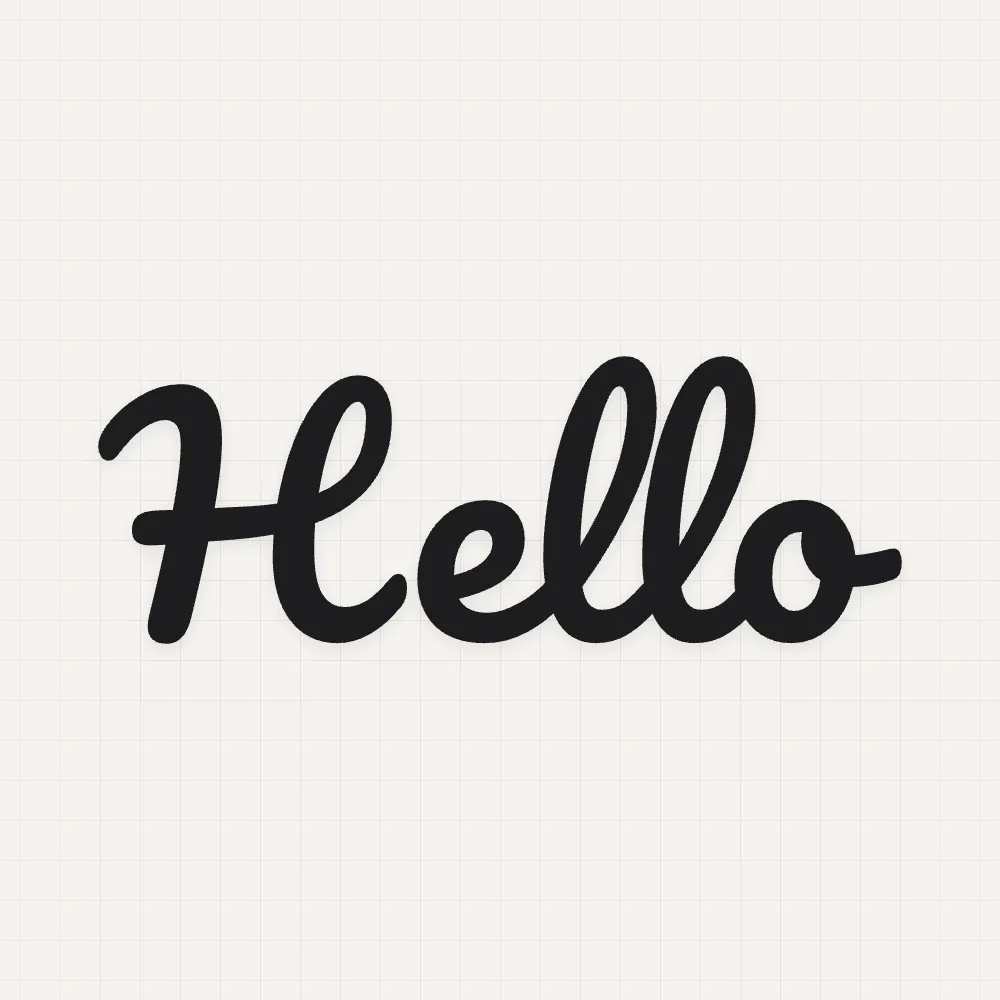
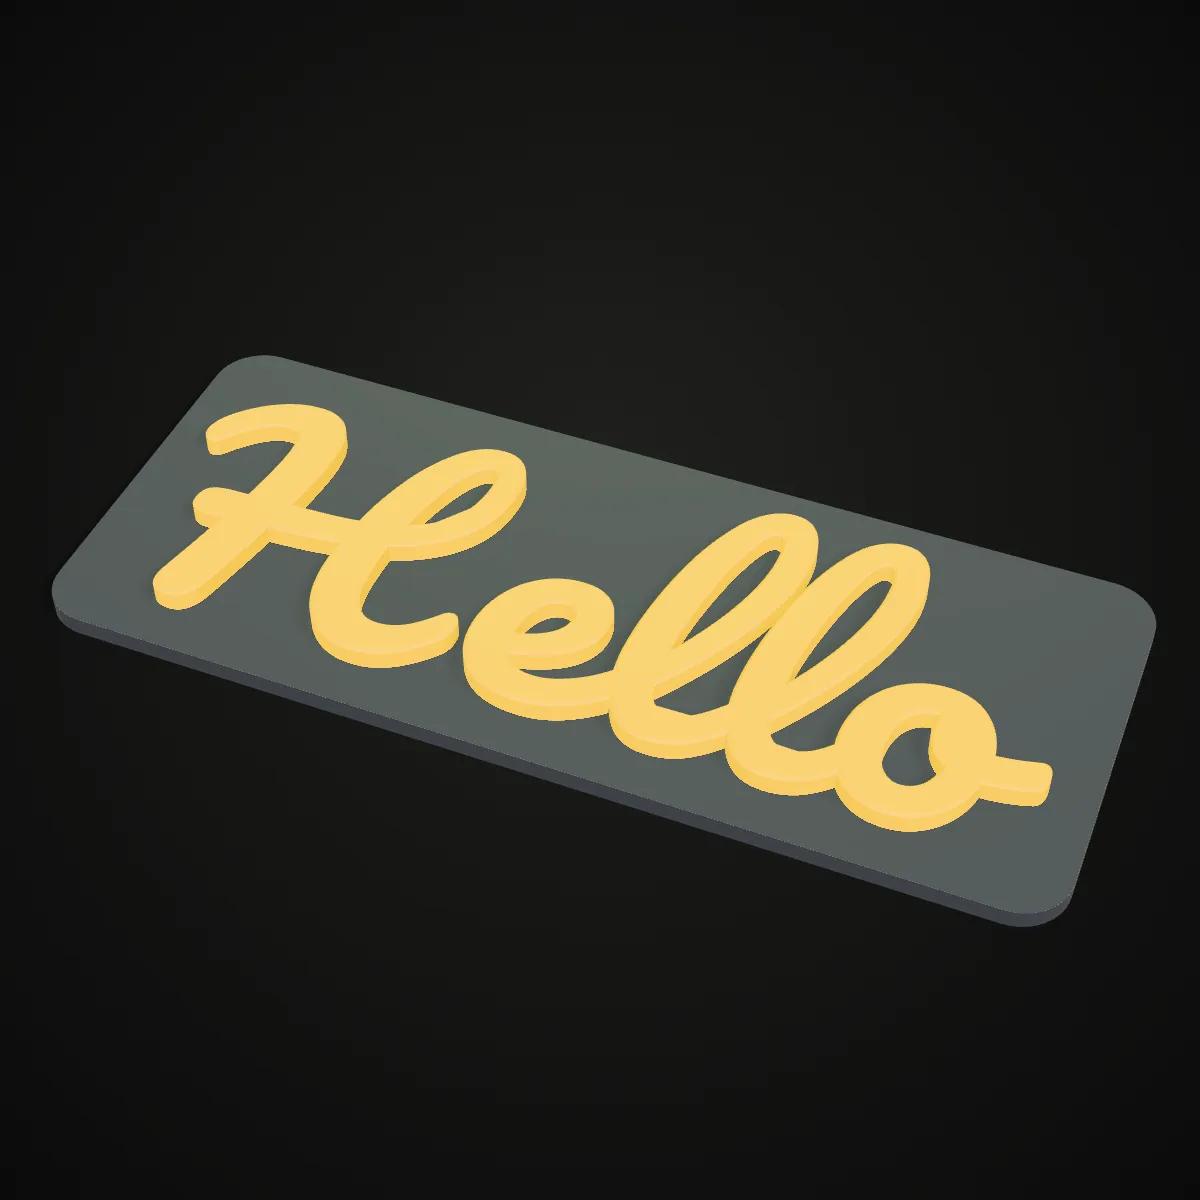
Each sample opens in the SVG to STL tool with settings already tuned for it: the paw as a keychain with an outline base and a 5 mm hole, the badge on a round plate, the script word on a rounded sign. Load one with a click, or download the .svg to see how it is drawn.

Watch a paw print become a keychain
This 18-second recording shows one SVG to STL run from start to finish: it loads the paw sample, orbits the model, drags the extrusion height, switches the base plate off and on, tries a rounded plate, toggles the keychain hole and downloads the STL. Every change rebuilds the mesh on the spot, and the readout in the corner gives the finished part in millimetres: a 45 × 51.5 mm tag made of roughly 10,000 triangles.
SVG to 3D model: six files, before and after
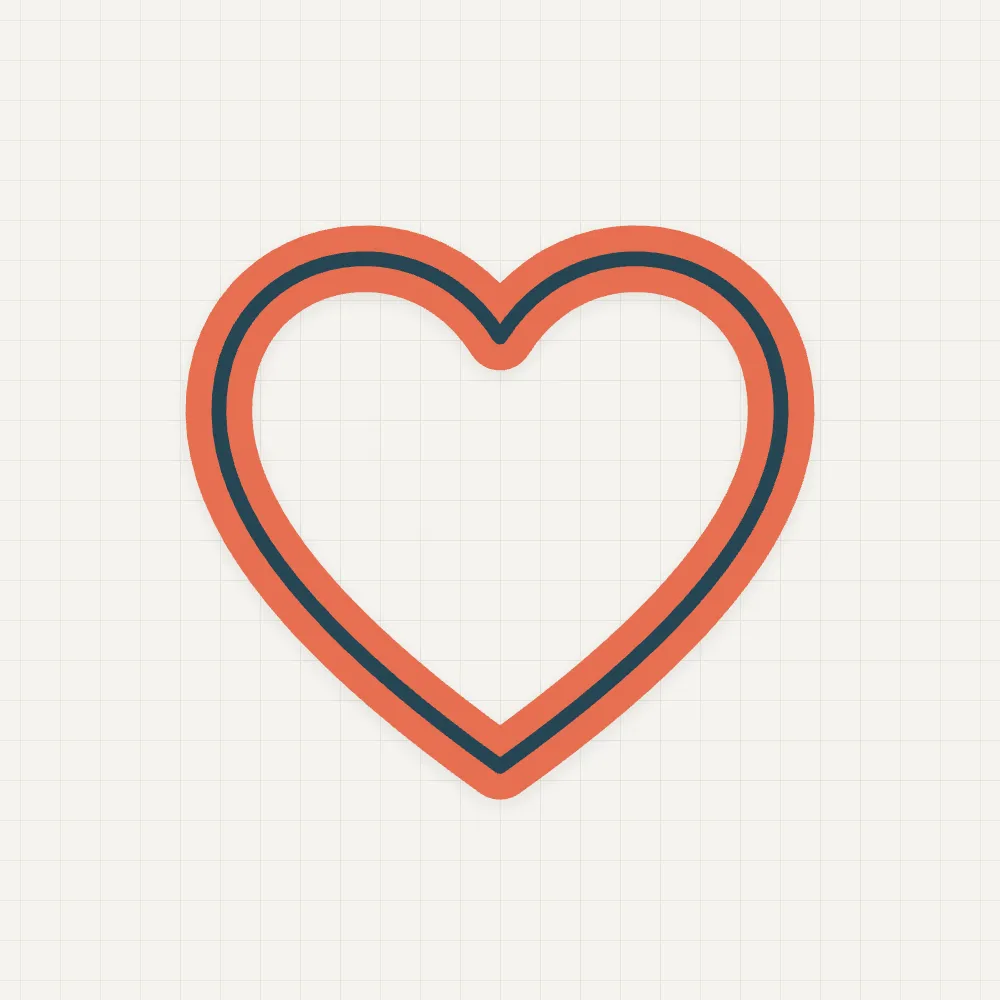
Left, the vector file. Right, the model this SVG to STL converter built from it, with the settings named in the caption. The two-colour results are one STL each plus a filament change in the slicer.







What you can make from an SVG
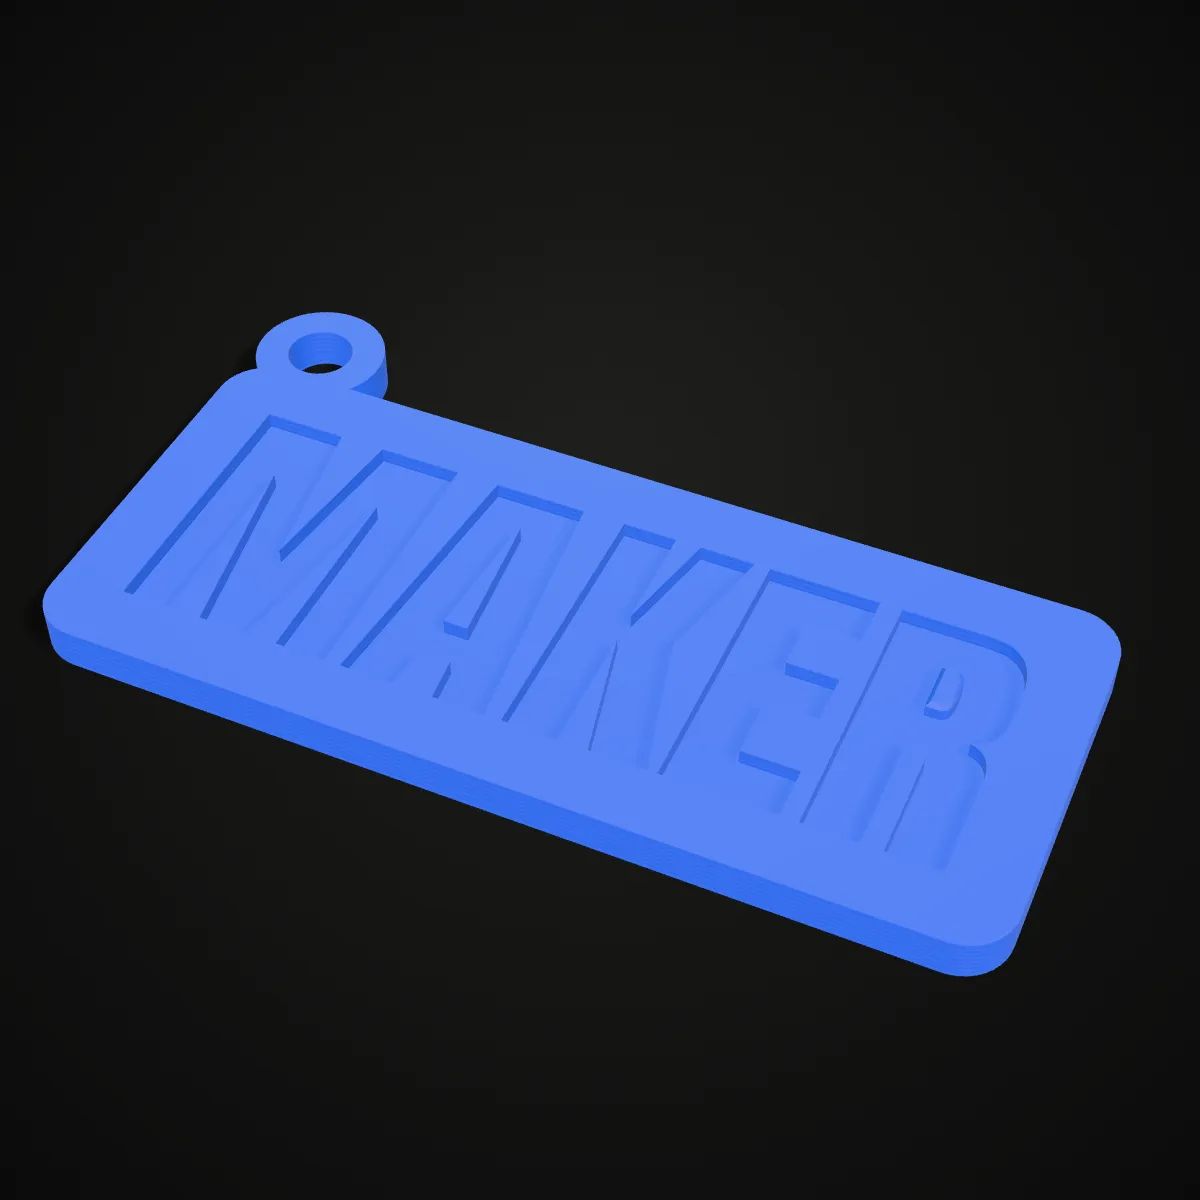
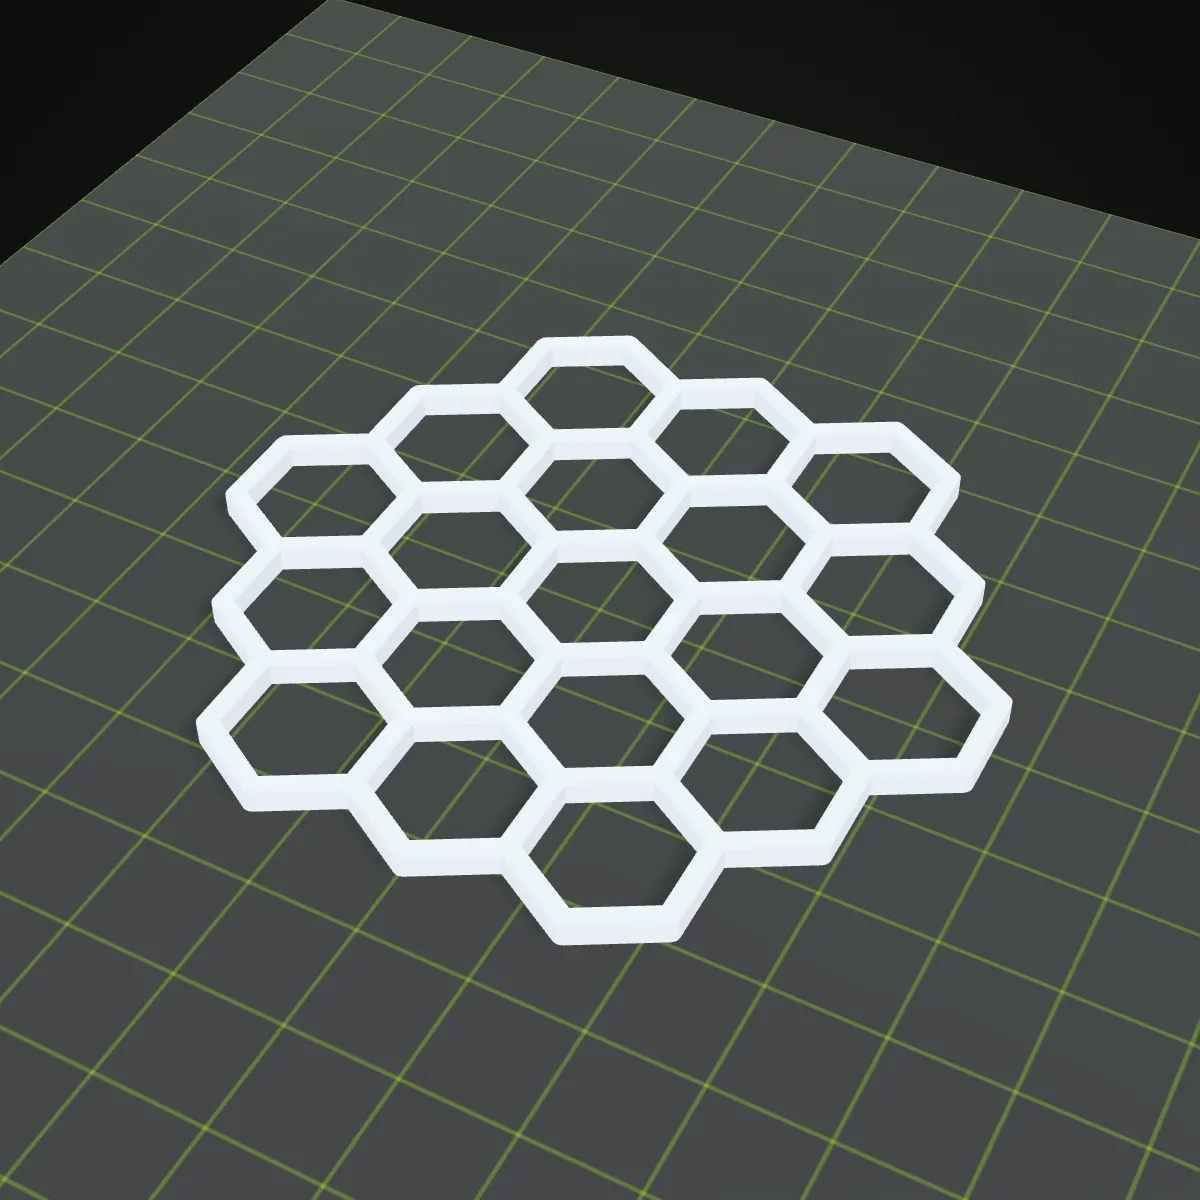
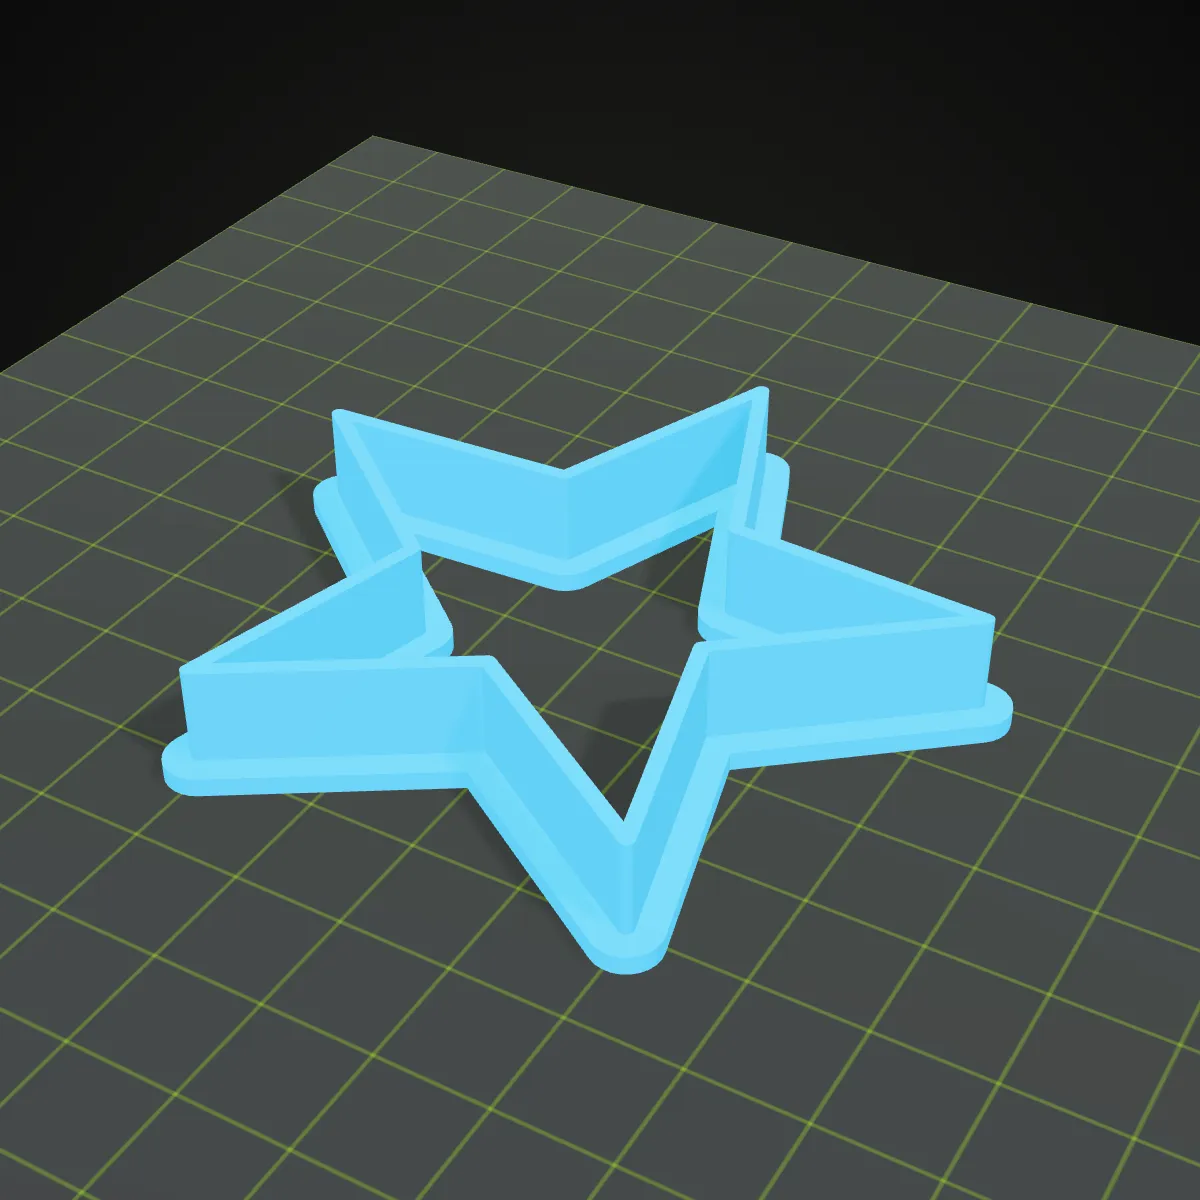
Eight models built with this SVG to STL converter from icons, fonts and simple vector art, rendered the way they come off the printer. Each is a single STL; the colours come from filament changes or simply from the plastic they were rendered in.




How to convert SVG to STL
- 11
Drop your SVG
Drag an .svg file of up to 5 MB onto the tool, or load one of the samples. It is parsed on your device. Live text is skipped with a warning, so turn words into outlines before you export.
- 22
Set size, mode and extras
Pick the width in mm and the extrusion height, then Raised or Cut out. Add a base plate (rectangle, rounded, circle or outline), a keychain hole, a top bevel, or switch on “Different height per color”.
- 33
Check it and download
Orbit the preview and read the size and triangle count under the buttons. Download a binary STL for your slicer, or an OBJ for Blender and other 3D apps. Both are in millimetres, Z up.
Recommended settings by project
Use these as starting points when you convert SVG to STL for a 0.4 mm nozzle; they come from the samples and renders on this page. Thin details fail first, so keep every line and wall at least two nozzle widths (0.8 mm) wide after scaling.
| Project | Width | Mode and plate | Heights | Tips |
|---|---|---|---|---|
| Keychain | 35–50 mm | Raised, outline base, 2–3 mm margin | Plate 2 mm, design 2–3 mm on top | 5 mm hole. For a two-colour tag, change filament where the plate ends. |
| Engraved name tag | 60–80 mm | Cut out with the base plate on | Floor 2 mm, engraving 1.2 mm | Bold, blocky fonts read best when recessed. Hole on the left. |
| Badge or coaster | 60–100 mm | Raised, circle plate, 2 mm margin | Plate 2 mm, artwork 2 mm | Near-white parts are left out and print as recesses. |
| Wall sign, lettering | 120–200 mm | Raised, rounded plate, about 6 mm margin | Plate 2.5 mm, letters 3 mm | A 0.4 mm top bevel softens the edges. Without a plate, script letters must touch to stay one piece. |
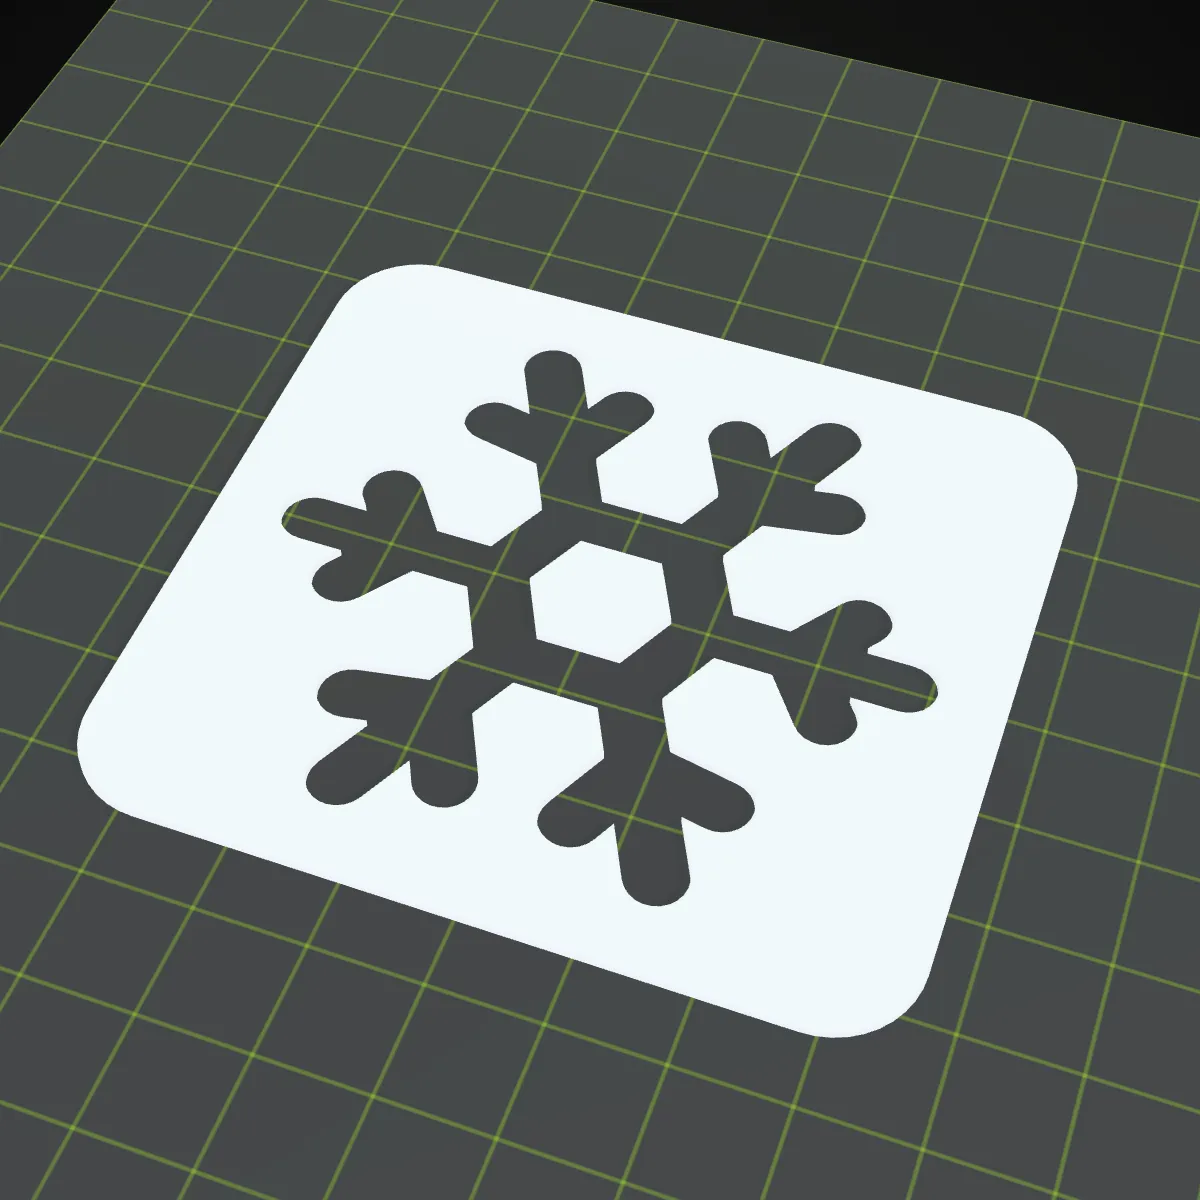
| Paint stencil | Fit to the surface | Cut out, base plate off | Sheet 1.2 mm | Enclosed islands (the middle of O, A, R) fall out. Use a stencil font or add bridges. |
| Cookie or clay cutter | 60–90 mm | Raised, no plate, different height per colour | Flange 2 mm, blade 12–14 mm | Draw the outline twice: a wide stroke for the flange, a thin one (0.8–1.2 mm after scaling) for the blade. |
| Layered colour logo | 50–100 mm | Raised, different height per colour | Steps at least two layers apart, e.g. 1.6 / 2.6 / 3.0 / 3.6 mm | Add a colour change at each height in the slicer’s layer view. |
What an SVG to STL converter is good for
Logo to STL for signs and merch
A company, club or band logo usually exists as a vector already. Extrude it into a desk sign, a door plaque or a badge, and keep the brand colours apart as separate heights so they can be printed in their own filament.
Keychains and name tags
Raised artwork on an outline-following base with a keyring hole makes a tag in a few clicks. For names, Cut out with the base plate on sinks the letters into the plate instead, which wears better in a pocket.
Spray-paint and airbrush stencils
Cut out without a base plate gives a flat sheet with the design missing. Print it at 1.2 mm and it lies flat on a wall, a T-shirt or a model. Check for enclosed islands first; they have nothing holding them in place.
Cookie, clay and fondant cutters
Draw a shape as a wide stroke under a thin one, switch on per-colour heights, and you get a flange plus a tall blade. Printed layer lines are hard to clean, so check that your filament is food-safe before using it on dough.
Multi-colour prints on a single nozzle
No multi-material unit needed: each SVG colour stands at its own height, and a colour change at each of those heights in the slicer swaps the filament. One STL, one printer, three or four colours.
A shortcut next to Tinkercad or Fusion
Tinkercad and Autodesk Fusion can import an SVG too, and they are the better choice when the logo is one part of a bigger design. For a stand-alone logo to STL job such as a tag, sign or stencil, this tool skips the account and the sketch work: plate, hole, bevel and per-colour heights are sliders.
SVG to STL: questions and answers
Drop the .svg on this page, set the width and extrusion height, and click Download STL. Every filled and stroked shape is extruded into a closed solid in millimetres. It runs in your browser, so the file is never uploaded, and it is free without sign-up.
Live text is skipped because its letters only exist as a font reference, not as shapes. Convert it to outlines before exporting: Type > Create Outlines in Illustrator, Path > Object to Path in Inkscape, Flatten in Figma, Convert to Curves in Affinity or CorelDRAW.
Yes. Strokes are outlined at their real width with the file’s line joins and caps, so icon sets drawn with strokes extrude without turning them into fills first. Line width scales with the drawing: lines that are one twelfth of the icon’s width print 4 mm wide on a 48 mm keychain.
Clip paths, masks, embedded bitmaps and live text are ignored, and a gradient counts as one flat colour. Shapes hidden by a clipping mask therefore print in full: release the mask and trim the shapes (Pathfinder in Illustrator, Path > Intersection in Inkscape) before exporting. Files with more than eight colours are merged down to the eight largest.
Not in the file itself: the STL and OBJ from this tool hold geometry only. Instead, switch on “Different height per color” so every colour gets its own height, then add a filament change at each of those heights in your slicer. Near-white colours start switched off when darker ones exist; tick them to include them.
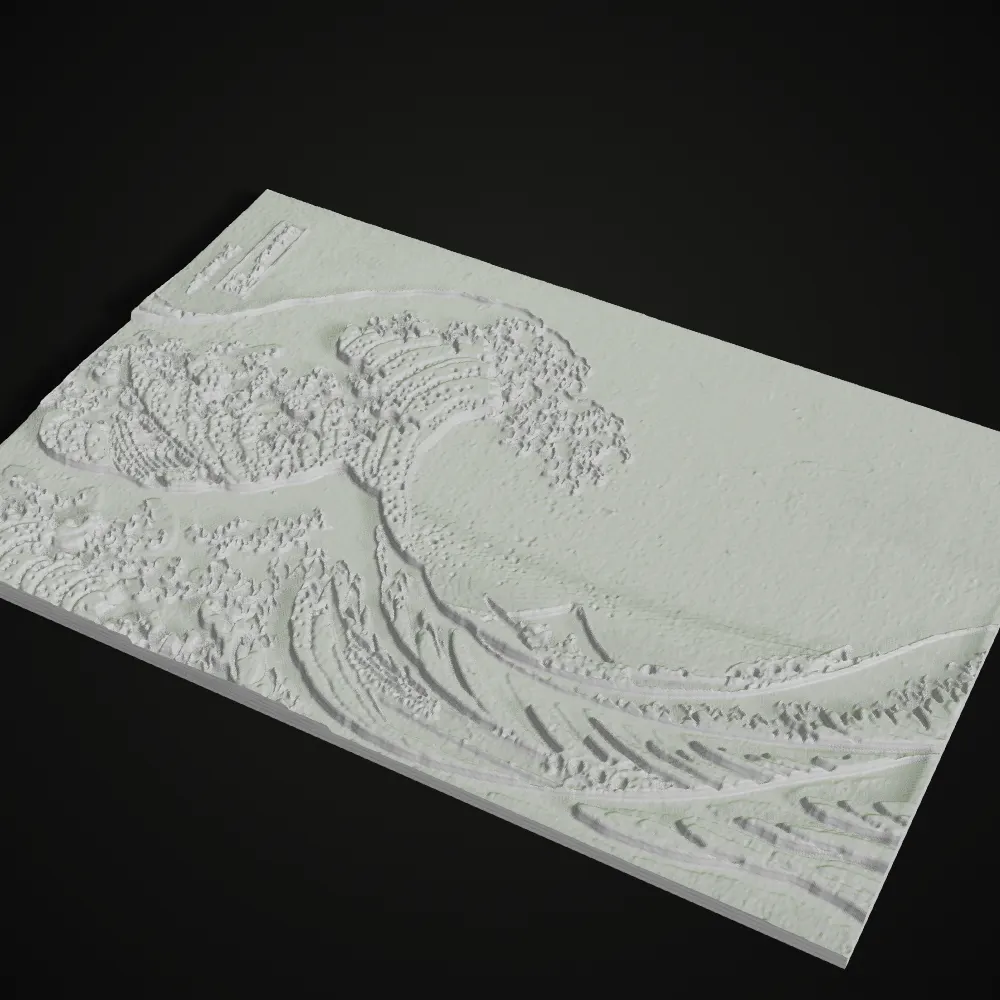
Use SVG to STL when you have vector shapes: edges stay sharp at any size. A PNG or JPG is pixels, so it goes to PNG to STL, which turns brightness into a relief. A backlit photo panel is a job for the Lithophane Maker, and a full rounded object from a photo needs the AI Image to STL generator, because an SVG to 3D model made by extrusion always has straight sides.
Related tools


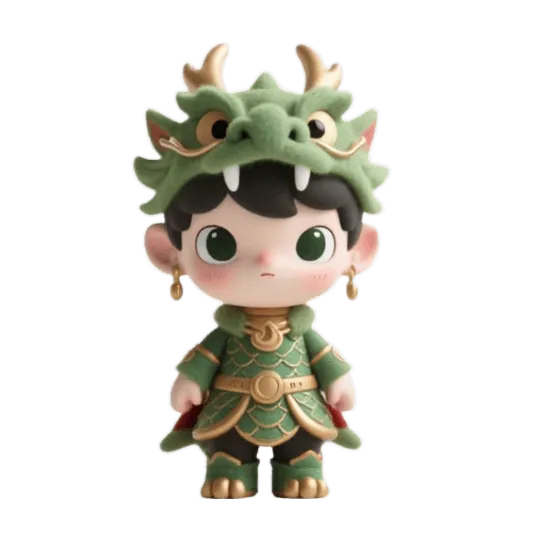


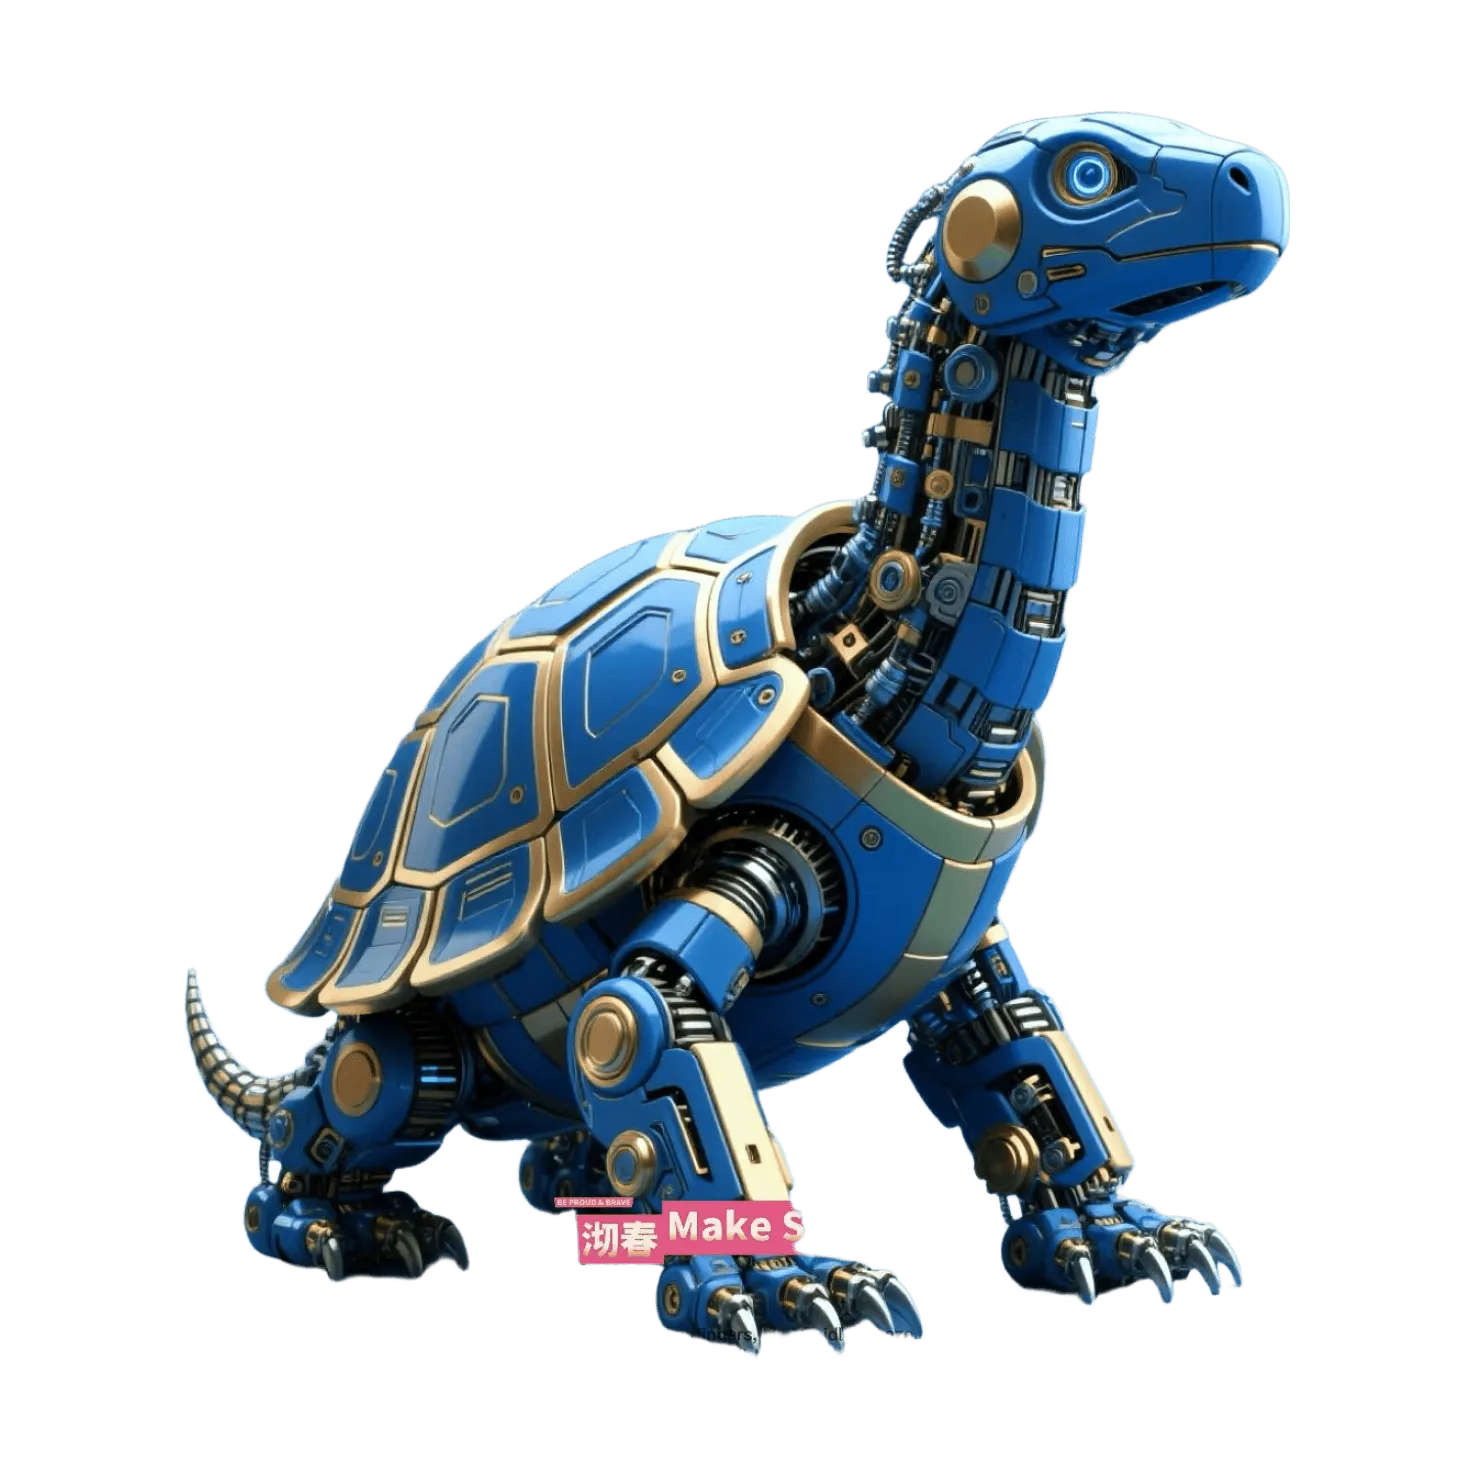


Need a full 3D model instead of a flat one?
Extrusion keeps every side straight. For a figure or any rounded object, turn a photo into a 3D model with Ship3D’s AI generator.
Free to sign up, no credit card required. Try it once for free.